
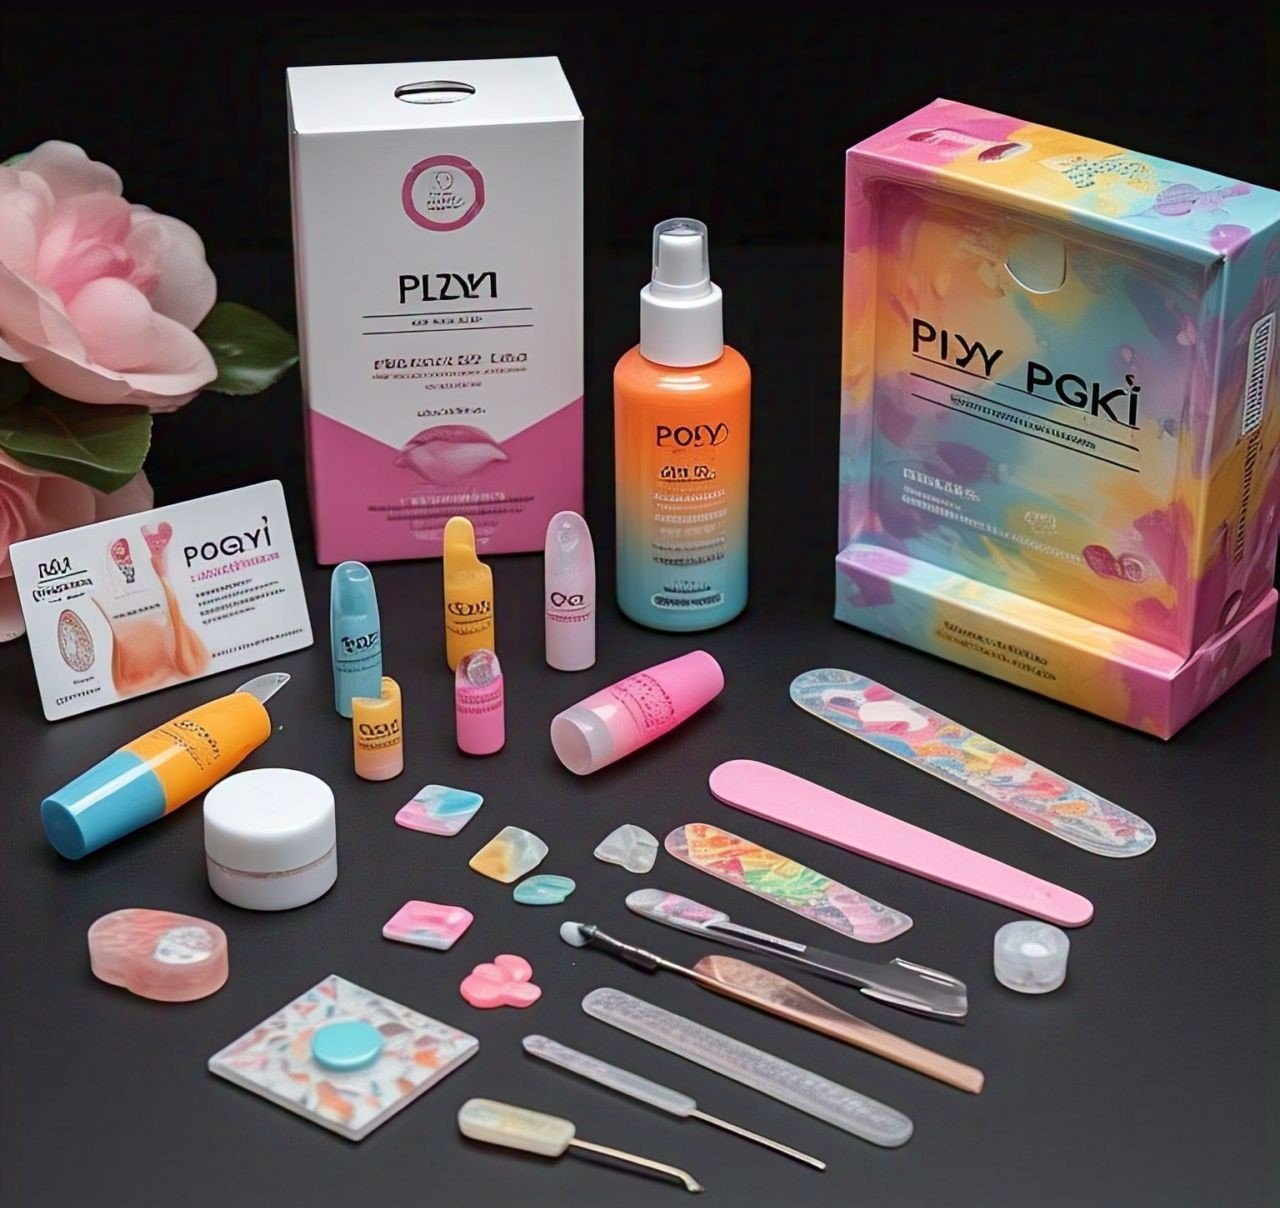
Professional Poly Gel Nail Kit
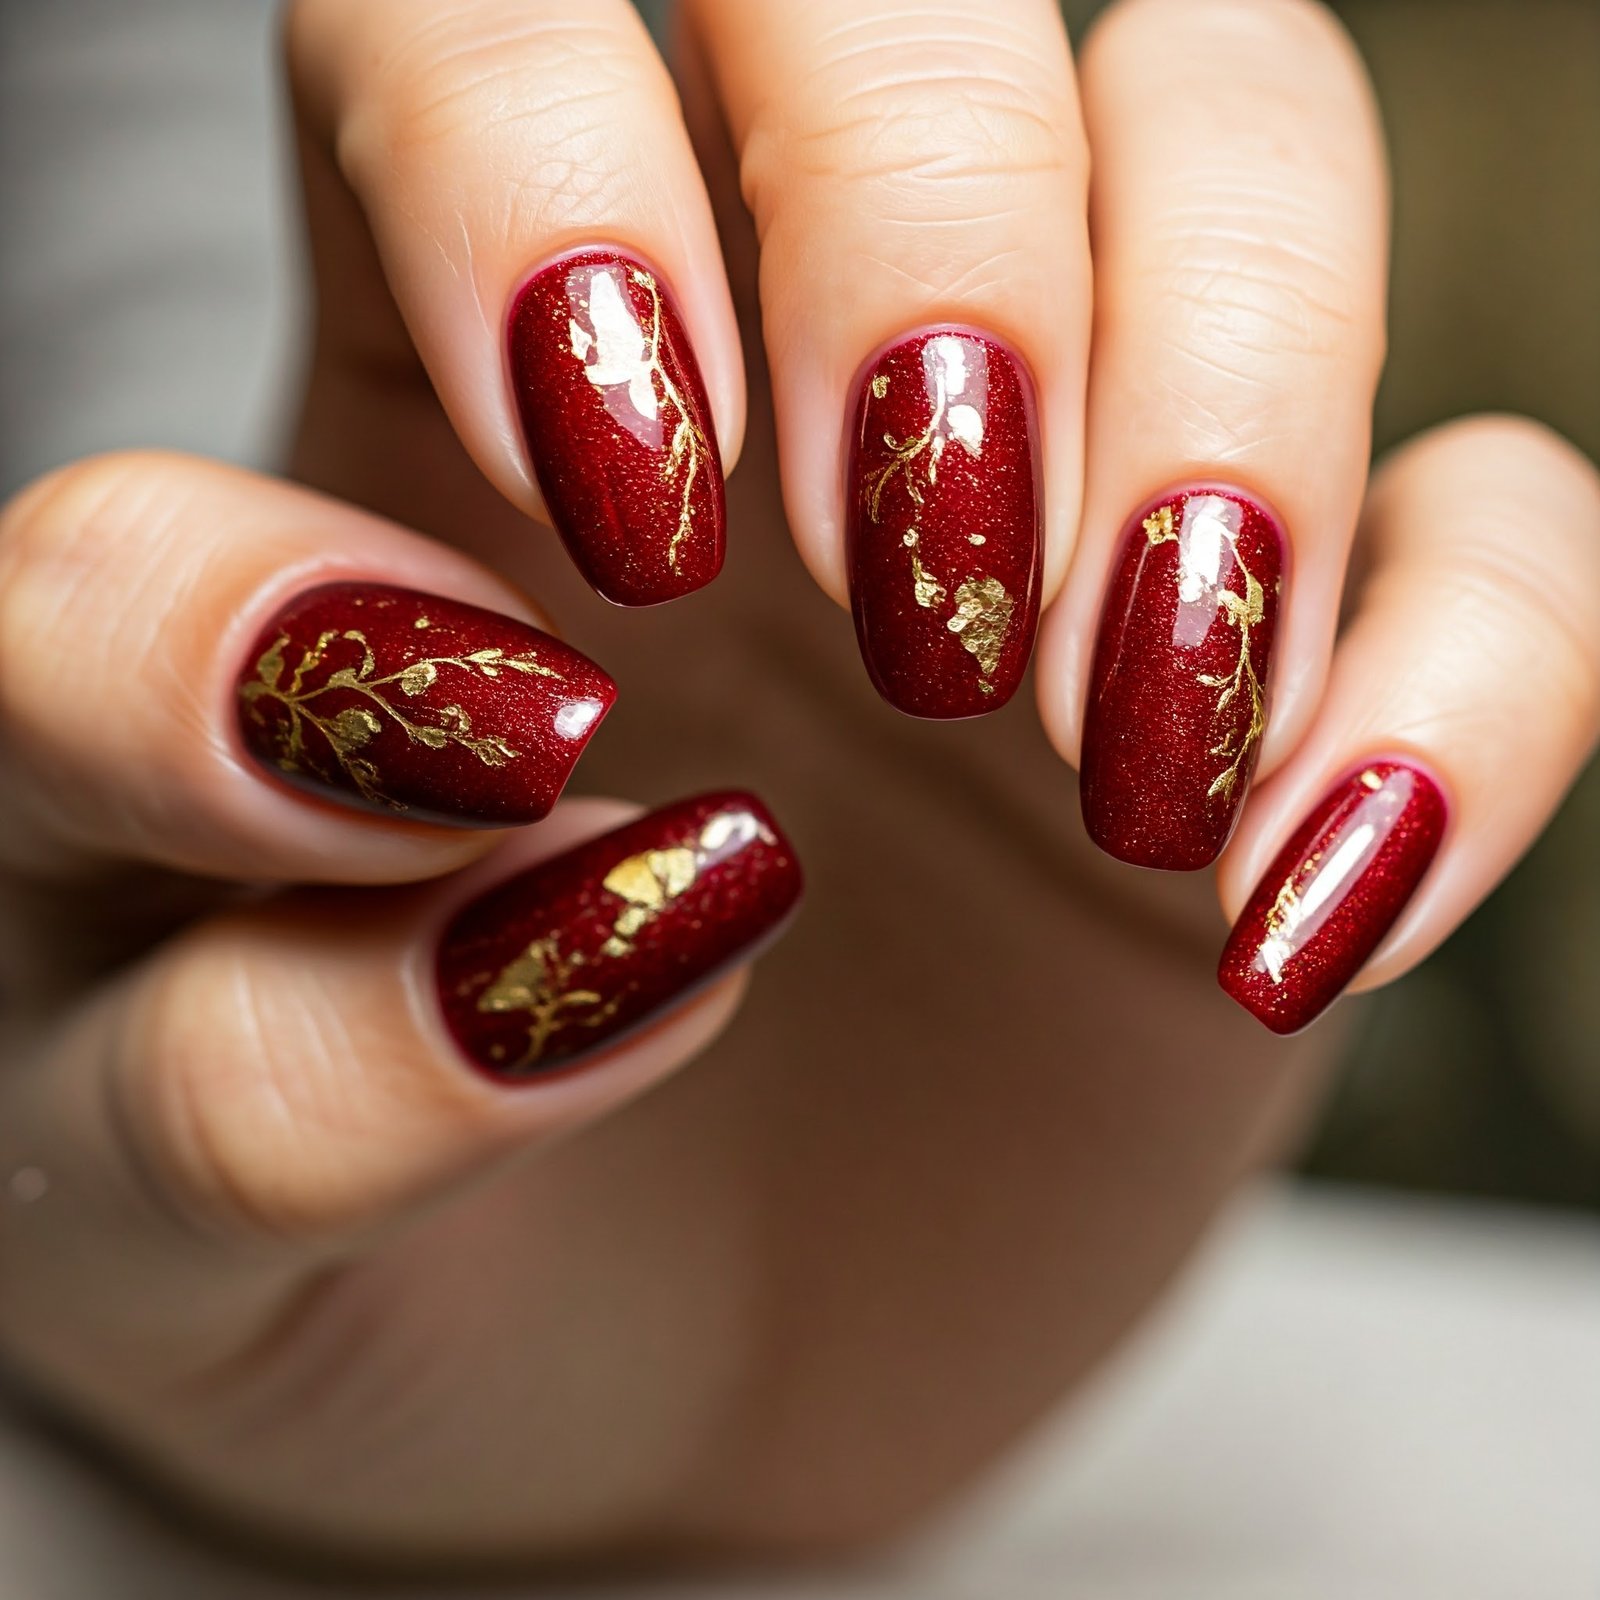
Professional Poly Gel Nail Kit, Imagine transforming your nails into a salon-quality masterpiece right at home. The Poly gel Nail Kit is the ultimate solution for creating stunning, long-lasting manicures without the hassle of frequent salon visits. Combining the best qualities of acrylic and gel Nails, this lightweight yet durable finish is both easy to shape and mold, making it perfect for both beginners and seasoned nail artists. This comprehensive kit includes everything you need to let your creativity shine—whether for everyday wear or special events, you’ll find endless possibilities to express your unique style.
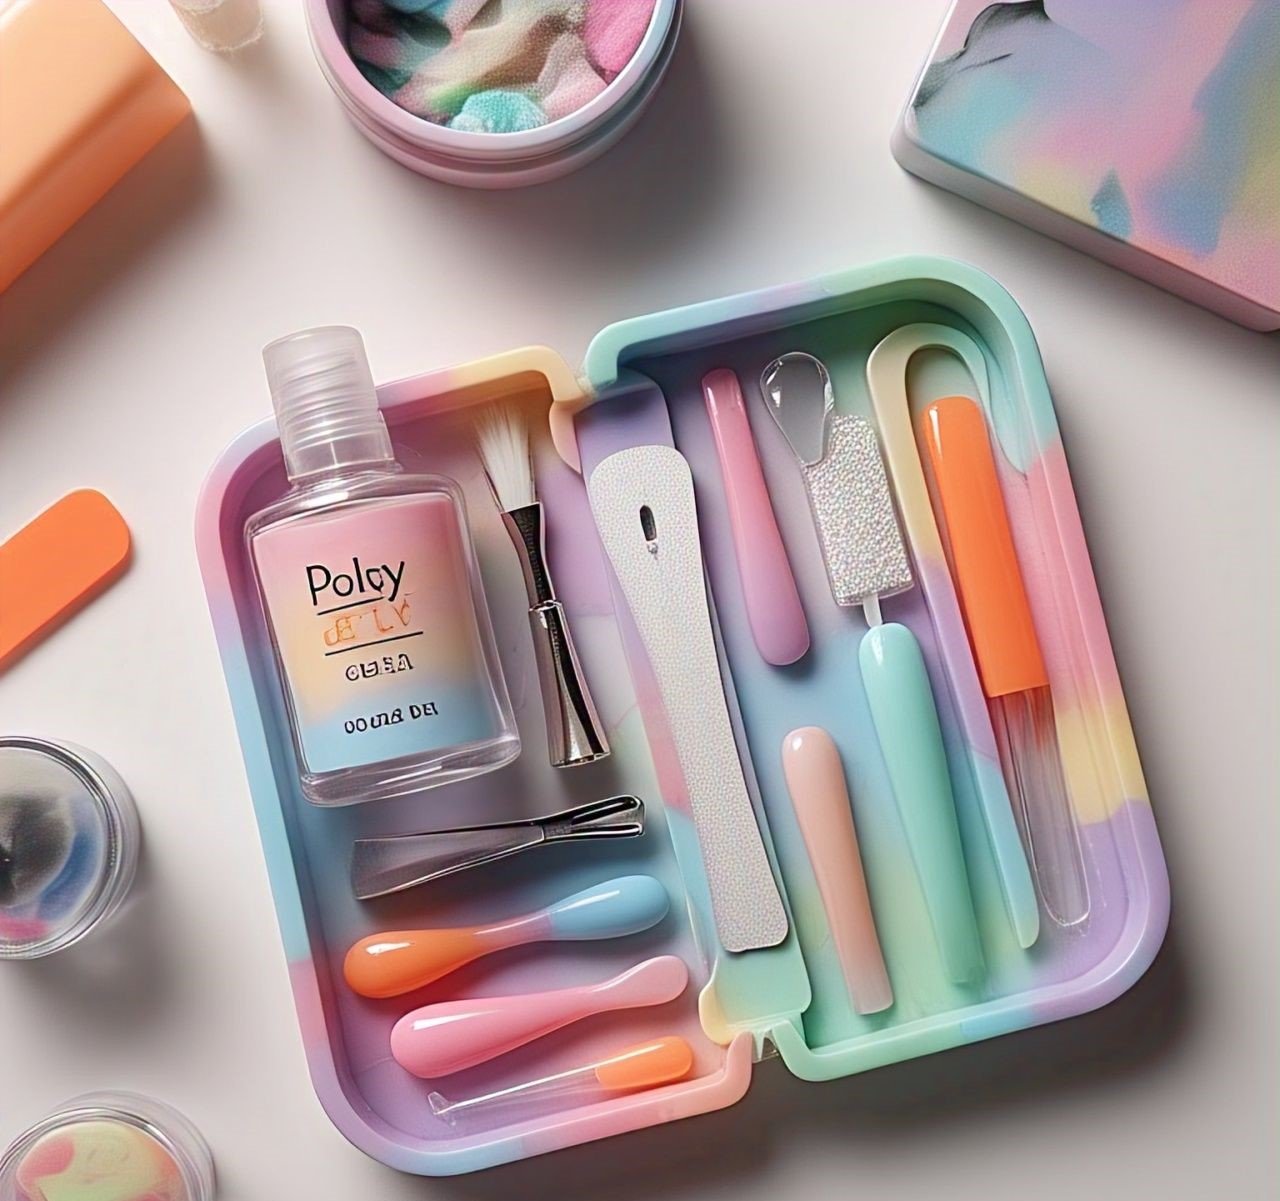
The kit features eight essential pieces, such as multiple Poly gel colors, a dual-ended brush and spatula, and a slip solution for smooth application. It also includes nail forms, a base coat, a top coat, and a UV/LED lamp for quick curing, making every step simple and efficient. Say goodbye to expensive treatments and hello to beautiful, customized nails that can last for weeks. Whether you’re Crafting a casual look or prepping for a big event, this perfect combination of tools offers the flexibility to create professional-looking manicures with ease.
Key Features of the Poly gel Nail Kit
- Comprehensive 8-piece kit: Everything you need to create professional-quality Poly gel nails at home.
- Multiple Poly gel colors: Enjoy a variety of shades for a personalized and customized look.
- Dual-ended brush and spatula: Perfect tools for easy shaping and smooth application.
- Slip solution: Ensures easy Poly gel application for flawless results.
- Nail forms: Ideal for achieving a long-lasting and durable finish.
- Base coat and top coat: Enhance the salon-quality results with these essential items for protection and shine.
- UV/LED lamp: Provides quick curing for efficient, at-home Poly gel nails.
- Lightweight and durable finish: Offers a comfortable feel while ensuring nails stay intact for weeks.
- Easy For Everyone: Suitable for both beginners and experienced nail artists, giving everyone the chance to create stunning nails.
- DIY Poly gel nails: Easy to use, perfect for creating unique nail art from the comfort of your home.
How Professional Poly Gel Nail Kit Are Made:
The process of creating a professional poly gel nail kit involves a detailed process where quality ingredients are combined to ensure a high-quality, long-lasting nail enhancement system. It’s a simple, yet effective, step-by-step guide that helps you achieve salon-like nails, whether you’re new to nails or a professional. The key is using the right tools and materials to get the best results. Here Is a Method:
Step 1: Gather Your Materials: The first step in creating your poly gel nails is to make sure you have all the necessary materials. Begin by selecting high-quality tools, including brushes, spatulas, a base coat, top coat, and a reliable UV light or LED light. These components will ensure your nails are both durable and long-lasting. Don’t forget to check the properties of each item to ensure they are perfect for your kit!
Step 2: Preparing Your Nails: Before you apply the poly gel, it’s crucial to prepare your nails properly. Start by cleaning your nails to remove any oils or residues. Use a buffer to gently remove the shine and shape your nails. Pushing back the cuticles ensures that the poly gel will adhere better and last longer, giving you a flawless finish.
Step 3: Apply Base Coat: Start by applying a thin layer of base coat to your natural nails. This helps the poly gel stick without peeling or lifting. Then, cure the base coat under UV light or LED light for the recommended time to ensure it sets properly.
Step 4: Apply Poly Gel: To start, take the poly gel and use a brush to apply a thin and even layer over your nails. The poly gel is a moldable substance, so you can easily shape and adjust the length and style of your nails. After applying, place your nails under the UV light or LED light to cure them to perfection. The process is quick and simple, giving you a smooth, salon-quality finish at home.
Step 5: Shaping and Sculpting Your Nails: When you’re working with a poly gel kit, the first step is to carefully shape your nails using a nail file. After applying the poly gel, you may need to sculpt it into the perfect design, adding more if necessary to achieve the ideal length or thickness. Once you’re satisfied with the look, it’s important to cure it under the light to set the gel. If you feel like the design needs a little extra, simply add more gel and cure again. The process is all about fine-tuning, so take your time to ensure that your nails turn out just right.
Step 6: Sealing Your Nails with a Top Coat: After you’re satisfied with the shape of your nails, it’s time to apply a top coat. This step seals the design and gives your nails a shiny and glossy finish. Make sure to cure the top coat under the light to set it properly, ensuring a long-lasting and flawless look.
Step 7: Adding the Final Touches: Once your nails are set and the curing process is complete, use a lint-free wipe to remove any sticky residue left on the surface. This ensures your nails look beautiful and long-lasting. Now, you can truly enjoy your gorgeous, professional poly gel nail kit results.
Benefits of Professional Poly Gel Nail Kit:
A professional poly gel nail kit provides numerous benefits, making it an excellent option for creating beautiful and long-lasting nails. Below are some of the key advantages:
- Durability: Poly gel nails are known for their highly durable nature, ensuring long-lasting results without the worry of chipping or cracking. Unlike other nail products, poly gel maintains its strength and beauty for an extended period, giving you flawless nails that won’t break easily. It’s one of the main reasons this product has become so popular for at-home manicures.
- Strength: The gel formula in a professional poly gel nail kit is much stronger than regular nail polish, offering more protection for your natural nails. It helps prevent breakage and gives nails a solid, long-lasting finish that won’t chip easily. This added strength is one of the main reasons many prefer poly gel over traditional options.
- Lightweight: Poly gel nails are lightweight and comfortable to wear, unlike traditional acrylic nails that can feel heavy. This makes poly gel a more comfortable and easy option for long-lasting nails.
- Easy Application: The poly gel formula is easy to apply, offering smooth and even coverage without any streaks or bubbles. Whether you’re a beginner or an expert, the application process is quick and hassle-free, ensuring perfect nails every time.
- Flexible: A flexible finish from a professional poly gel nail kit helps prevent breakage while also enhancing the overall look of your nails. This flexibility makes poly gel a reliable choice, providing durability without sacrificing comfort or appearance.
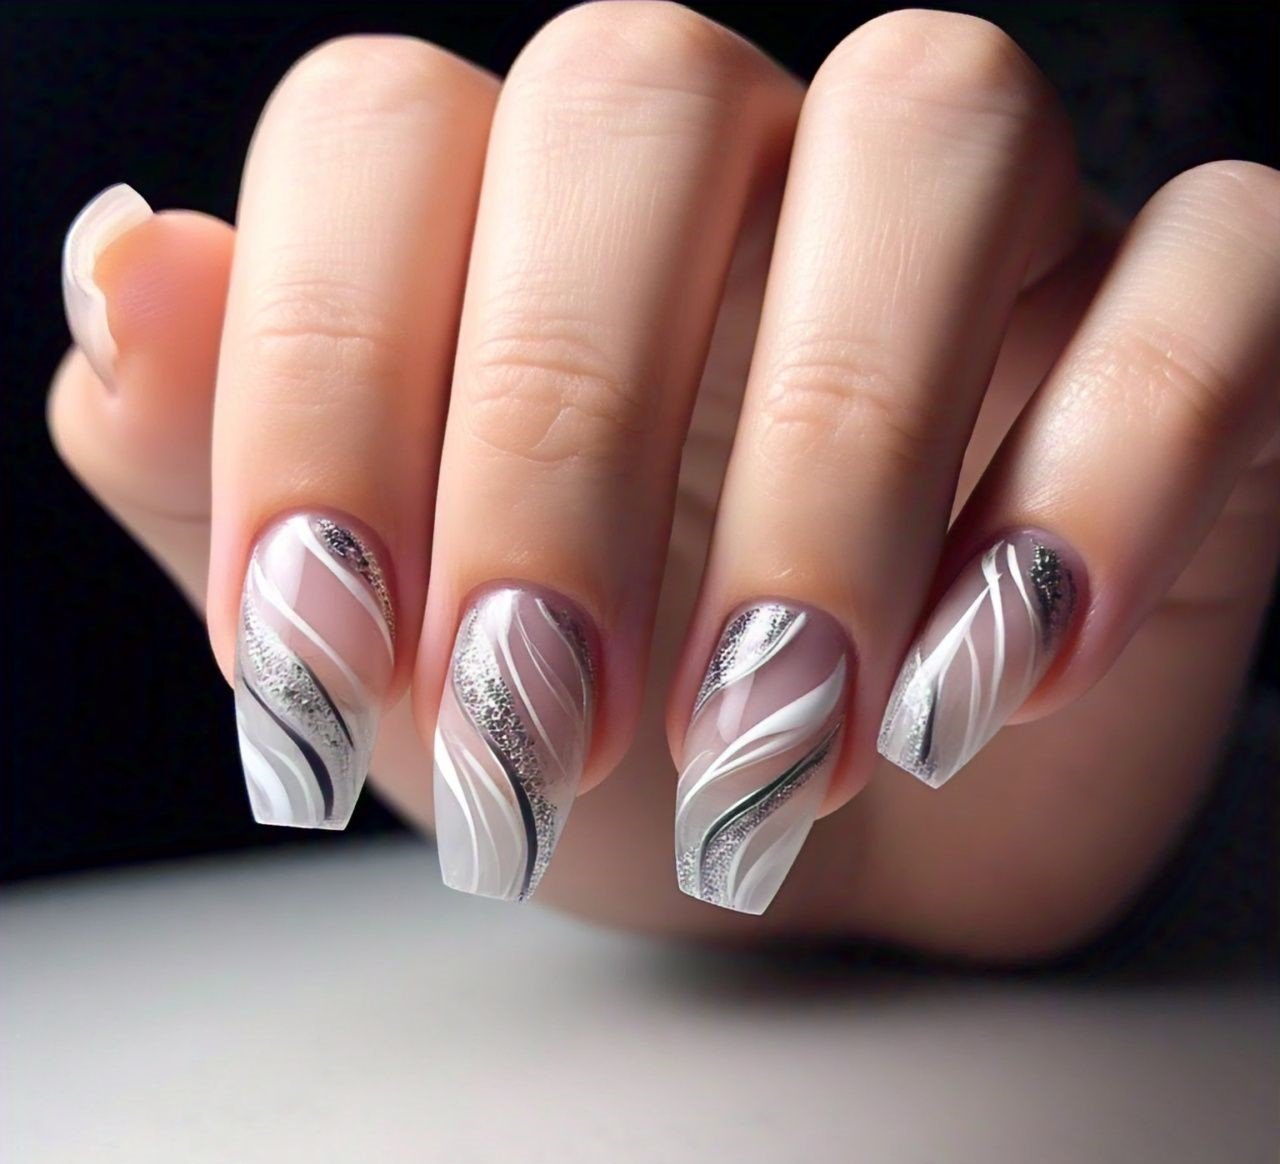
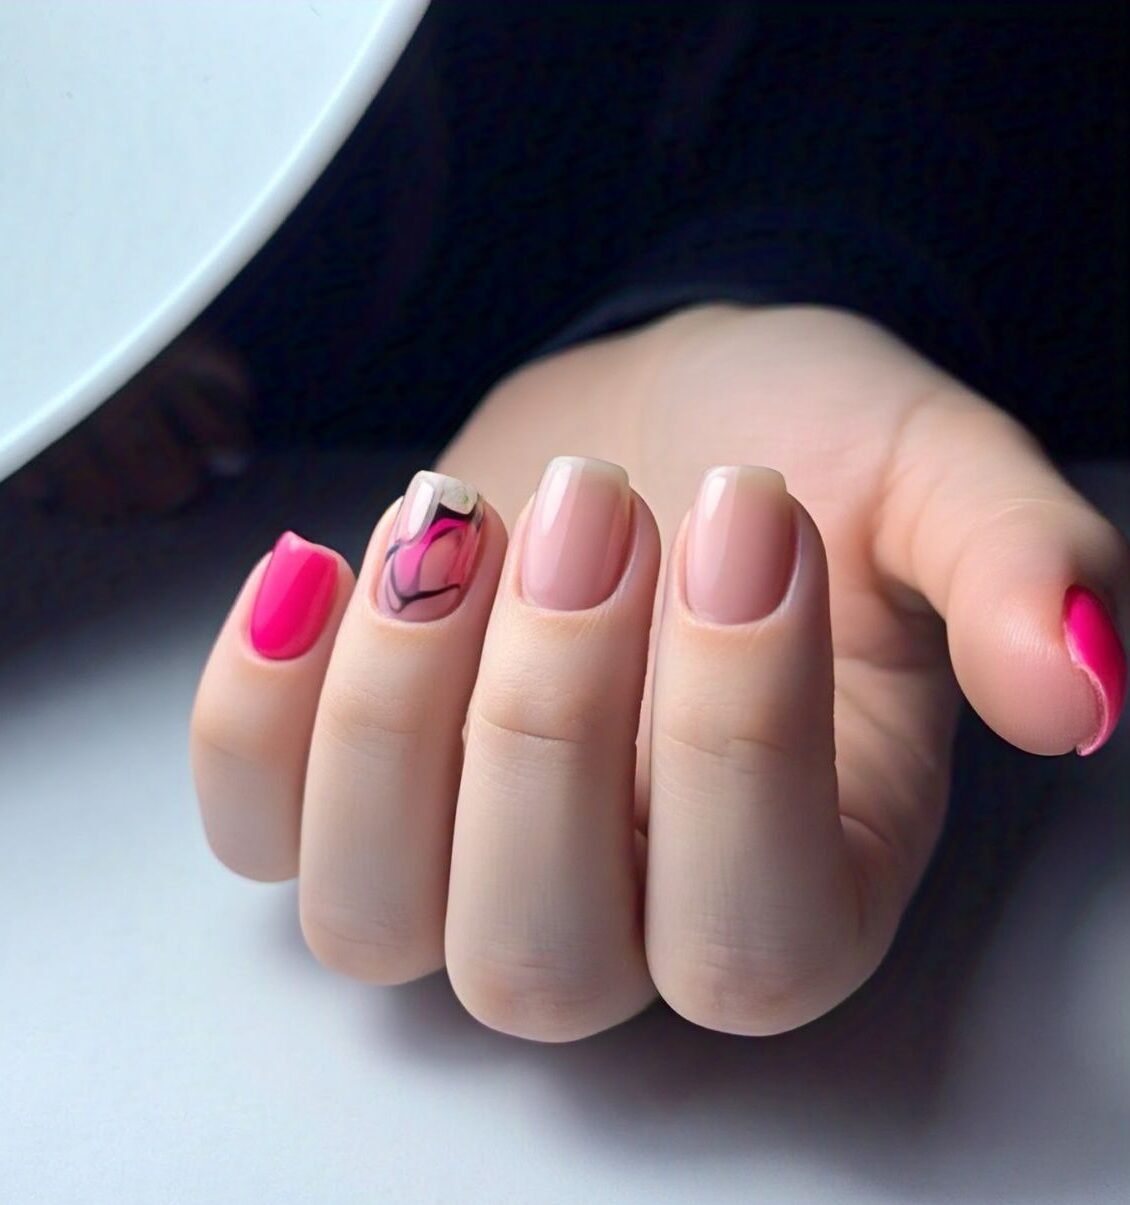
- Customizable: The kit allows you to create a wide range of nail art, from simple designs to more intricate ones. It gives you full creativity, enabling you to explore various nail designs and personalize your nails with ease.
- No Harsh Odors: Unlike acrylics and other nail products, poly gel has no strong, unpleasant odors. This makes it a more comfortable option, allowing you to enjoy your manicure without the harsh smells often associated with traditional nail products.
- Less Damage to Natural Nails: Poly gel is much gentler on natural nails compared to other options like acrylic or gel extensions. It is less likely to cause damaging effects, especially when removed improperly, making it a safer choice for long-term use.
- Quick Drying: The gel in a professional poly gel nail kit sets quickly under UV or LED light, allowing for faster application and efficient curing. This makes the whole process faster, so you don’t have to wait long for your nails to dry.
- Cost-Effective: Using a professional poly gel nail kit at home is a great way to save money compared to regular salon visits. You can get salon-quality nails without spending a fortune. With this kit, you’ll have everything you need to create beautiful nails from the comfort of your own home. It’s an easy and effective way to enjoy a poly gel manicure without the high cost of a professional.
Overall, a poly gel nail kit is an excellent investment for anyone seeking a high-quality manicure with little effort.
Maintenance and Care:
To get the best results with your professional poly gel nail kit, it’s essential to follow a guide for maintaining and caring for your tools. A high-quality kit, when used correctly, helps in achieving long-lasting nails with a sleek finish. Over time, remember that consistent care of your kit ensures better performance and stunning nails every time you use it. Here is a Method:
- Proper Storage: When storing your poly gel, it’s crucial to keep it in a cool, dry place, away from direct sunlight and extreme heat. Ensure the original container is tightly closed with the lid securely on to prevent the gel from drying out. Also, keep your tools and UV/LED lamp in a well-ventilated area, as this will maintain their effectiveness. A sealed container will protect your gel and tools, ensuring they remain in optimal condition.
- Clean Your Tools Regularly: To keep your brushes and spatulas in great shape, clean them after every use with alcohol or a specialized nail cleanser. This helps prevent product buildup and ensures that they maintain their shape. Don’t forget to clean your UV/LED lamp regularly to remove any gel residue for optimal performance.
- Avoid Cross-contamination: Before applying poly gel, always wash your hands to avoid transferring dirt or oils. Sanitize your tools, like nail files, buffers, and brushes, with alcohol or an antiseptic cleaner to prevent bacteria buildup. Make sure your hands are clean before touching tools to keep your process hygienic.
- Check the Poly Gel Consistency: If your poly gel becomes thick or hard, it may have been exposed to air for too long. To bring it back to its original consistency, try heating the tube gently or adding a small amount of poly gel thinner to regain the smooth texture.
- UV/LED Lamp Maintenance: To keep your UV/LED lamp in top condition, regularly check the bulbs or LED lights to ensure they are working correctly. If they are no longer effective, replace them. Also, wipe the inside of the lamp to remove any gel residue and buildup, which could interfere with the curing process.
- Removal and Refills: To remove your poly gel nails, soak them in acetone for 10-15 minutes, then gently push off the product. Avoid using forceful methods to prevent damage to your natural nails. For refills, file down the old poly gel, clean the nail, and apply a fresh layer for a smooth and lasting application.
Follow maintenance tips to extend the life of your poly gel nail kit, ensure your nails always look professional.
Pingback: Butterfly Nails Art top 5 Ideas for Home Manicure - nailssart.com